Configure Trivore ID User Directory
This page covers how to configure Trivore ID authentication to work with another Trivore ID instance.
To keep things simple, this guide uses the following naming convention throughout:
- Trivore ID-1: the system that uses Trivore ID-2 as its authentication source.
- Trivore ID-2: the system that acts as the authentication source (where the users exist).
With this configuration, users in Trivore ID-2 are able to sign in to Trivore ID-1.
Create an OpenID client in Trivore ID-2
The OpenID client is required for authentication. Create this client in Trivore ID-2 before configuring the user directory in Trivore ID-1.
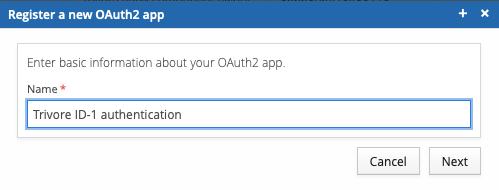
Give the OpenID client a descriptive name — this guide uses Trivore ID-1 authentication.
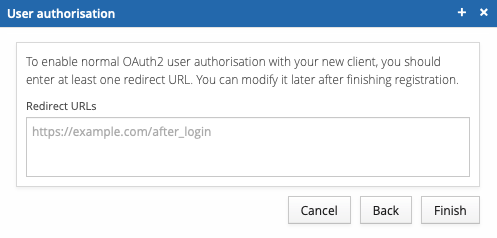
Leave the redirect URLs empty for now; they'll be added later, once the necessary steps in Trivore ID-1 are complete.
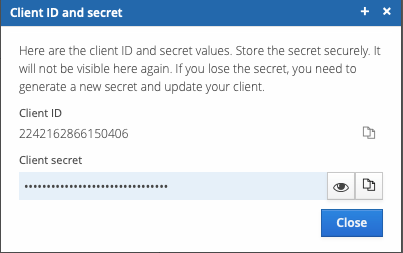
Note the Client ID and Client secret values — they're needed when configuring the Trivore ID-1 directory settings.
Create a user directory in Trivore ID-1
Next, federate Trivore ID-2 as a user directory in this environment.
Select User Directories from the Main Menu and select Add directory.
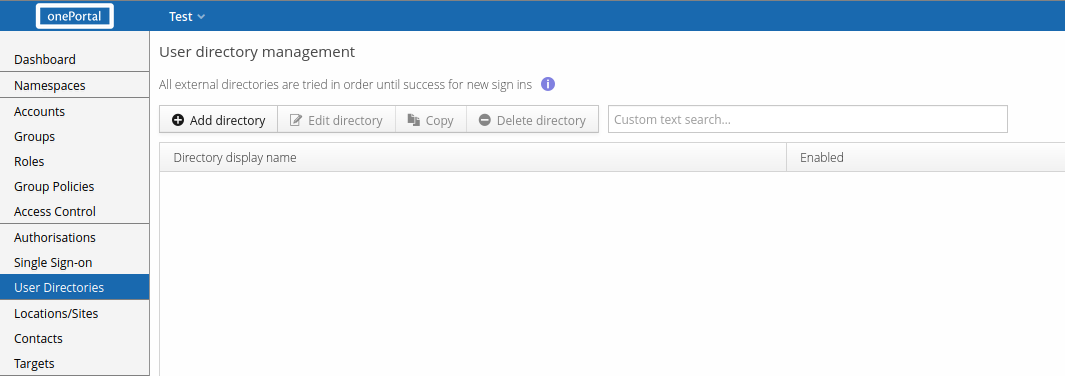
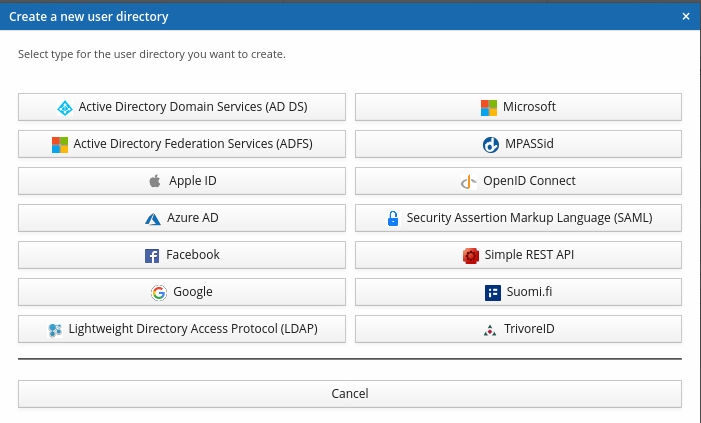
Select the directory type Trivore ID.
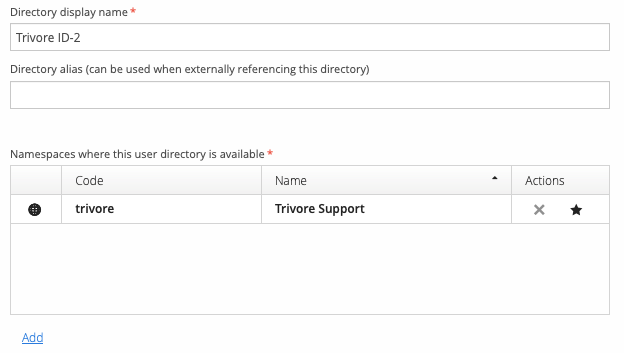
Give the directory a descriptive name — this guide uses Trivore ID-2. You can also select which namespaces this directory is available in; your current namespace is selected by default, but you may add more.
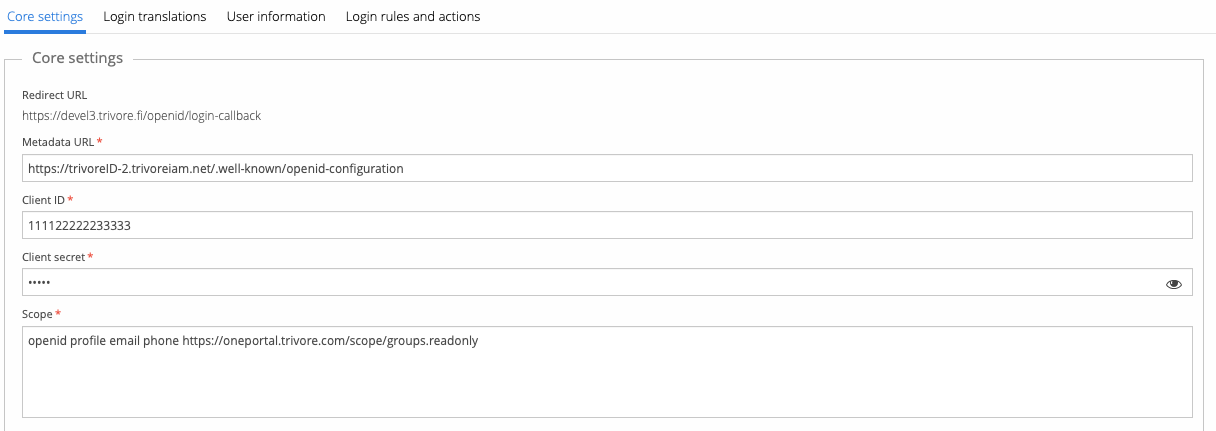
Core settings
Copy the Redirect URL shown here — you'll need it when configuring the OpenID client in Trivore ID-2.
For Metadata URL, replace the FQDN part of the following URL with your Trivore ID-2 domain:
https://trivore-id-2.trivoreiam.net/.well-known/openid-configuration
Set Client ID and Client secret to the values noted earlier when creating the OpenID client in Trivore ID-2.
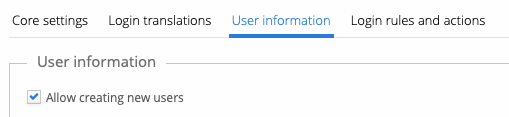
User information
Select Allow creating new users.
Configure the OpenID client in Trivore ID-2
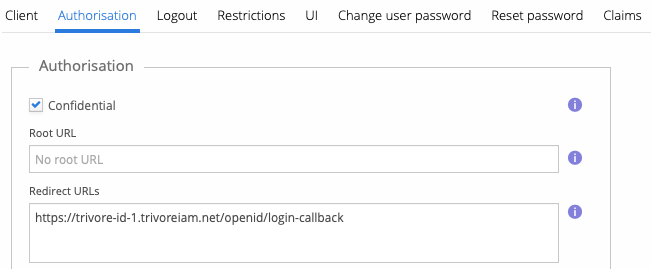
Finally, go back to the OpenID client created earlier in Trivore ID-2.
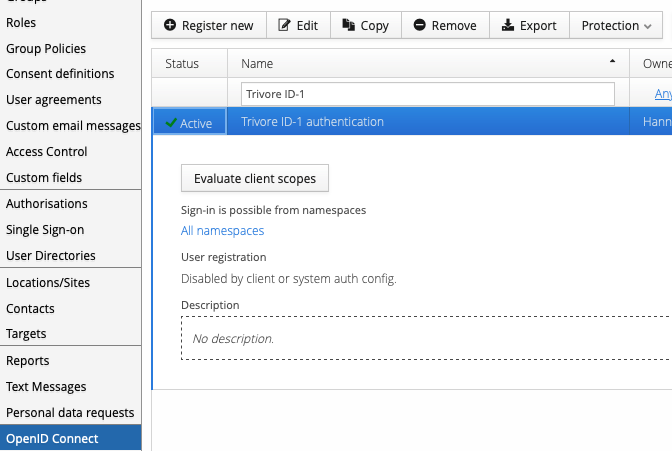
Add the Redirect URL copied earlier from the Trivore ID-1 directory configuration.