How-to: Entra ID
This document describes how to setup Entra ID authentication for Trivore ID. Entra ID was previously known as Azure AD.
When you setup Entra ID authentication, users can login to Trivore ID using their Entra ID credentials.
Configure Entra ID
Basic configuration
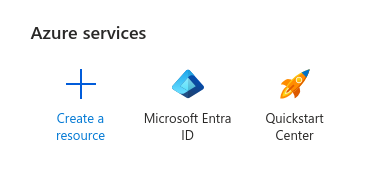
First, you need to create a new application in Azure. Log in to the Azure portal and find the "Microsoft Entra ID" service.
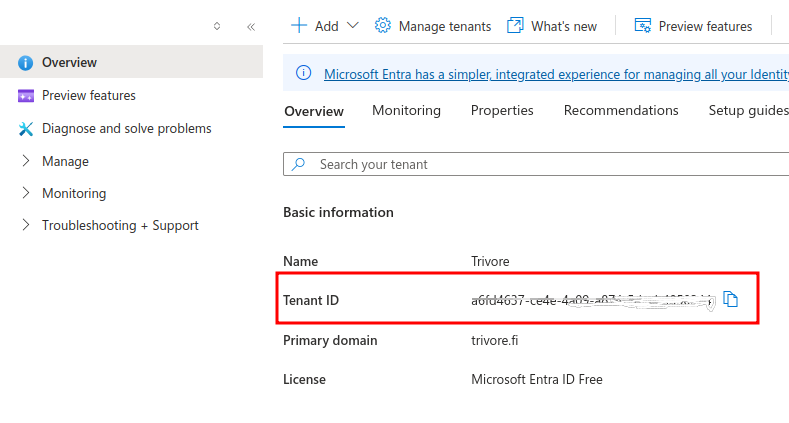
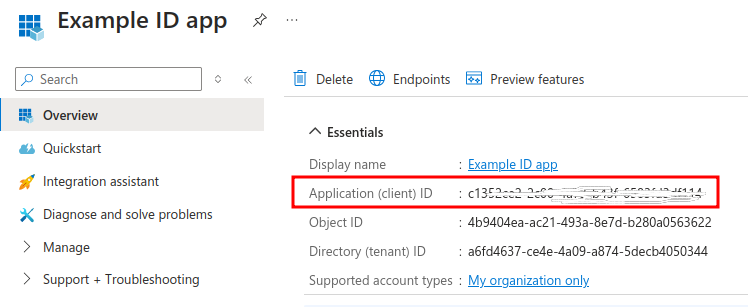
You'll be shown an overview of your Azure tenant. Note the "Tenant ID" value — you'll need it when configuring Trivore ID later on.
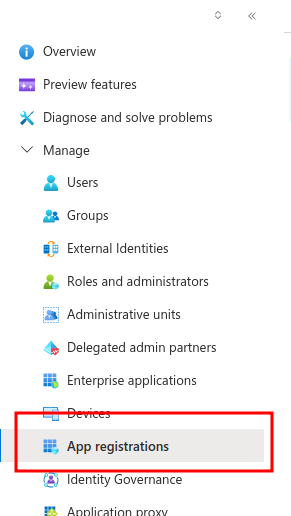
Select "Manage > App registrations" from the menu.
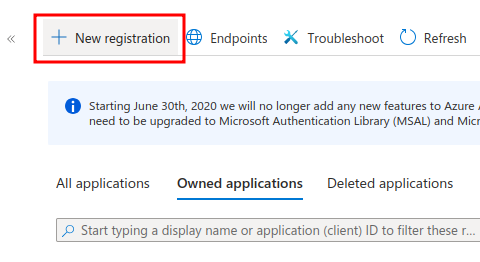
Click "New registration".
Select a name for your application (users will see this name when signing in via this
application) and enter the Web Redirect URI. The redirect URI value is
https://id.example.com/openid/login-callback if your Trivore ID instance hostname is
id.example.com — change the hostname as appropriate for your environment.
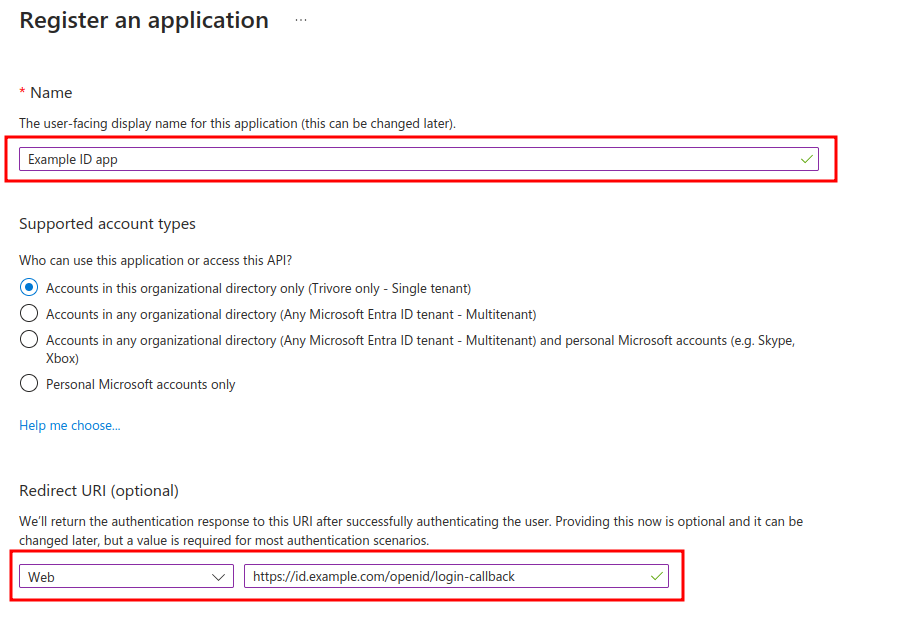
You have now successfully created a new application registration in Azure.
Note the "Application (client) ID" value — you'll need it later on when configuring Trivore ID.
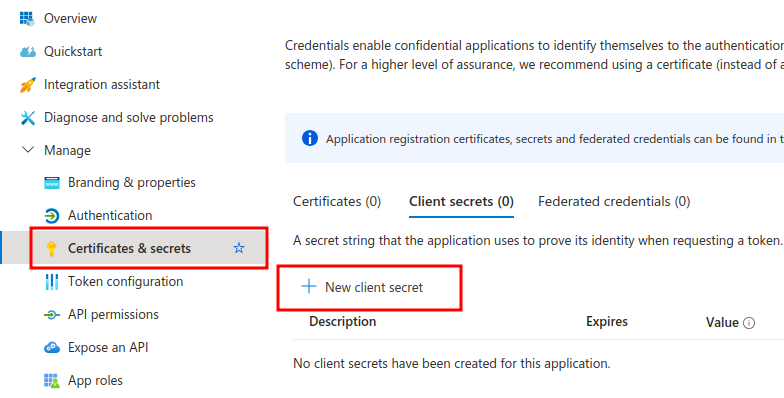
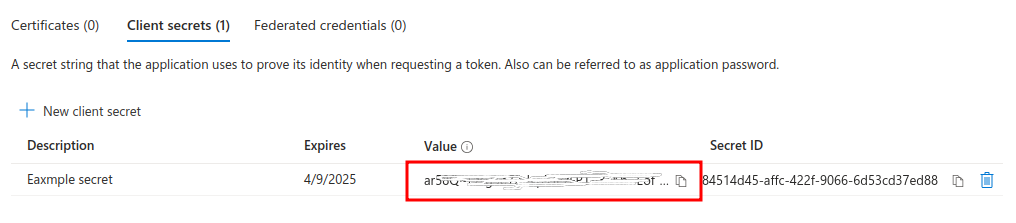
Select "Manage > Certificates and secrets" from the menu and click "New client secret".
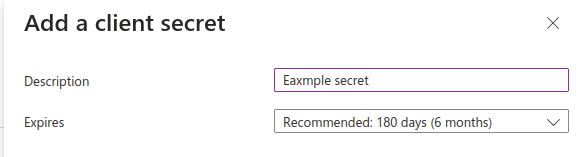
Enter a description for your secret and select an expiration time. Note that you need to generate a new secret before the old one expires — otherwise your application stops working.
Note the Client secret value — you'll need it when configuring Trivore ID.
Your Entra ID application is now ready for use. If you only need to import basic user information from Entra ID to Trivore ID, you can continue and configure Trivore ID. If you need to import group memberships for users, see Import groups.
Import groups
If you need to import group memberships from Entra ID to Trivore ID, you need to configure delegated API permissions.
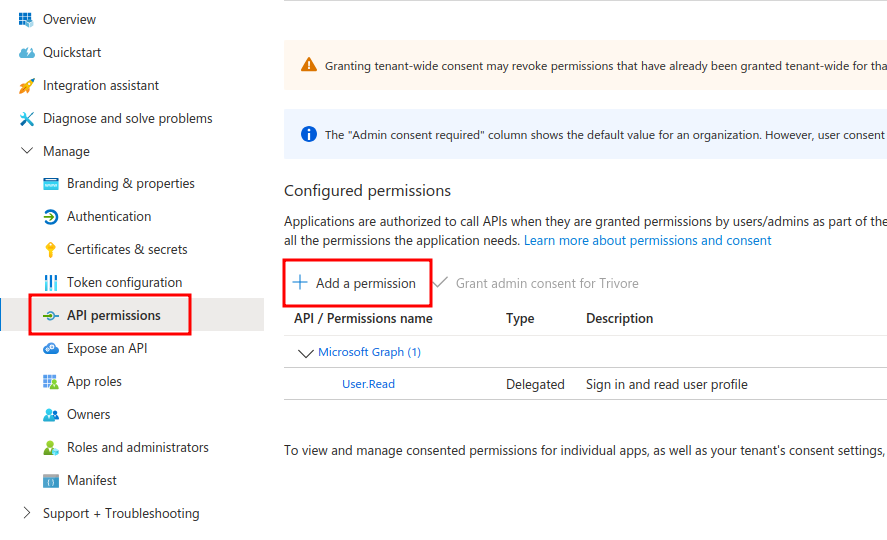
Select "Manage > API permissions" from the menu and click "Add a permission".
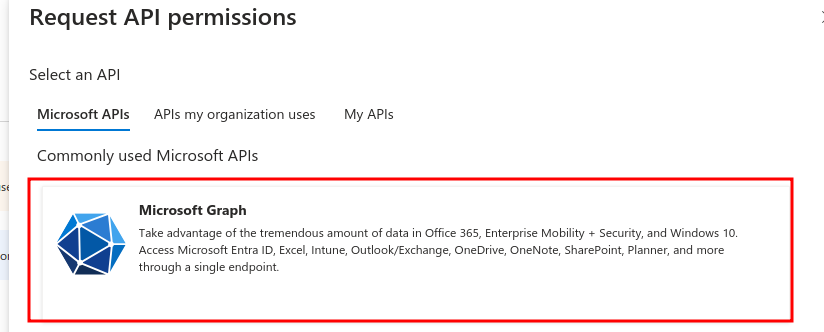
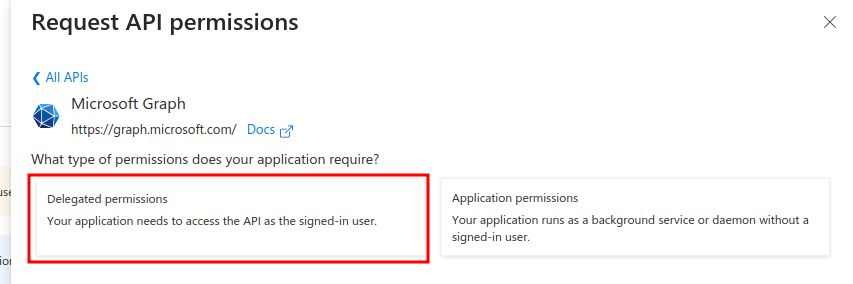
Select "Microsoft Graph" and "Delegated permissions".
Enter either "GroupMember.Read.All" or "Group.Read.All" in the search field, select the appropriate permission, and click "Add permissions".
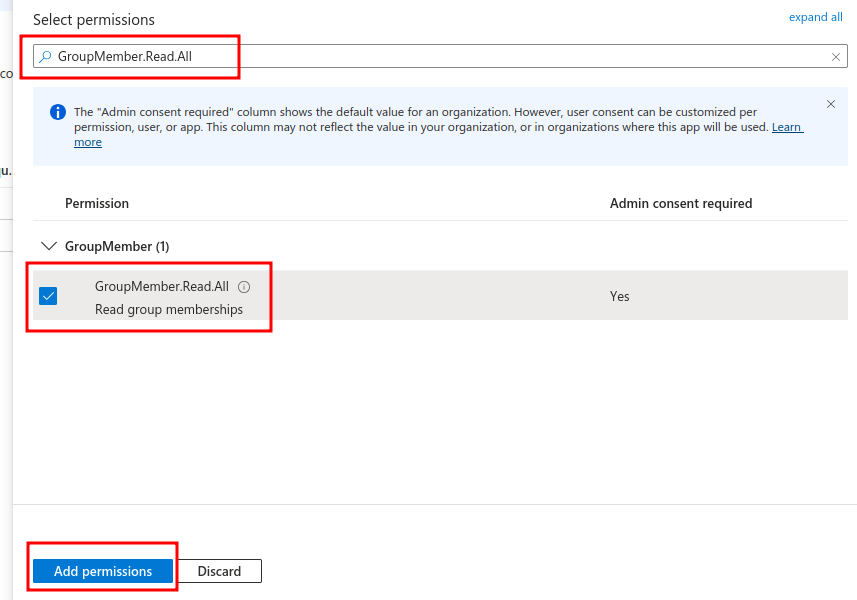
Group membership-related permissions need to be granted to the application by an administrator. You can do this yourself if you have admin access to your Azure portal; if not, ask your administrator to grant the permissions you need.

Configuring Entra ID is now complete. Continue with configuring Trivore ID next.
Configure Trivore ID
Basic configuration
Log in to your Trivore ID instance and select the namespace where you want to create the user directory. Only users in the selected namespace can use the Entra ID user directory for sign-in; users are also automatically created in that namespace, if creating new users is allowed.
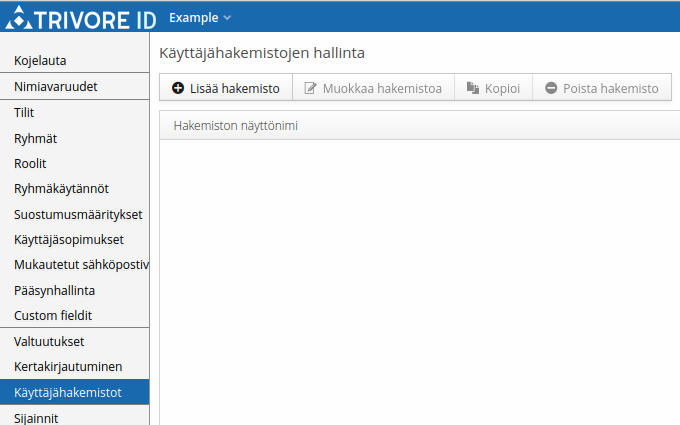
Navigate to "User directories" in the Main Menu and click "Add directory".
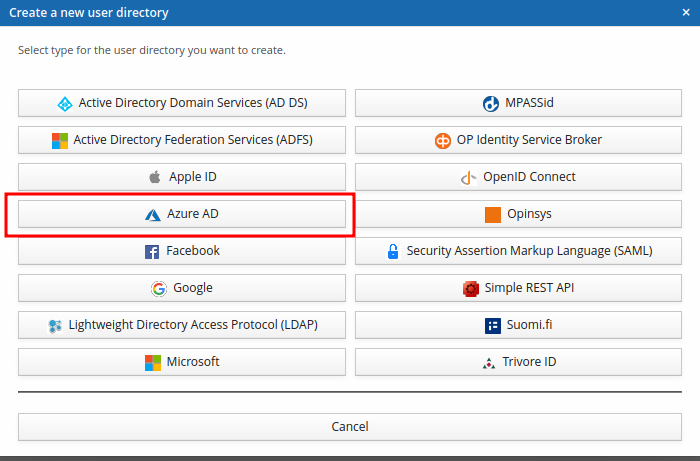
This opens a dialog where you select the type of user directory to add. Click "Azure AD".
Next, enter values for the "Tenant", "Client ID", and "Client secret" fields — you got these values when you created the app registration in the Azure portal.
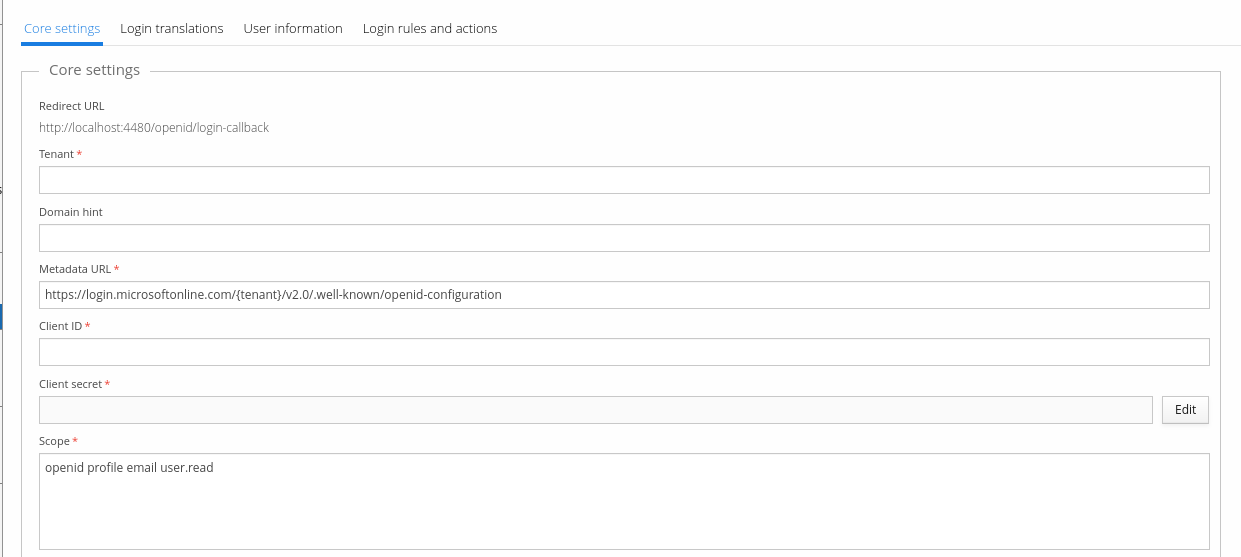
By default, the "Scope" value is suitable when you only need to import basic user information. If you also need to import groups from Entra ID, add the scope value "Group.Read.All" or "GroupMember.Read.All" (whichever permission you granted for your application previously).
Save your changes and Entra ID login is ready for use. You may also want to check sections User information and Group memberships. Additionally, you can configure Dynamic linking if your Trivore ID contains existing users that need to be mapped to Entra ID accounts.
User information
Select the "User information" tab. Here you can configure some basic settings for users that will be imported from Entra ID. Most of the attribute mappings have sane default values and there's no need to change them.
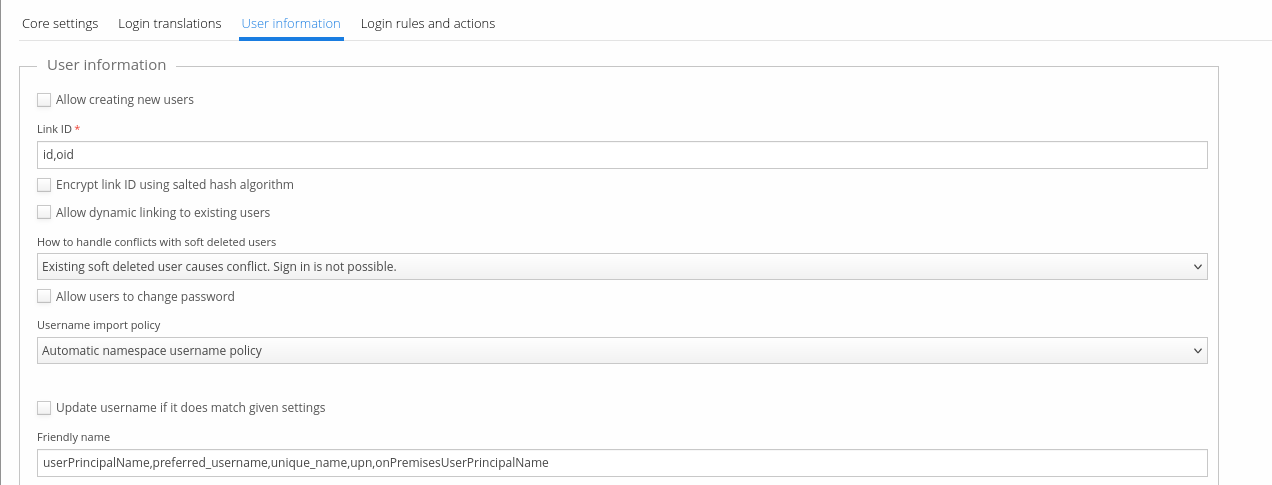
Usually, you want to allow creating new users. Select "Allow creating new users" checkbox. If you do not select this, only existing Trivore ID users can link their accounts with Entra ID accounts. See Group memberships for more information.
If you select "Allow users to change password", users imported from Entra ID can change their Trivore ID password. Do not select this, if users always login via Entra ID. This option applies only to users that were originally created by Entra ID login (more specifically, users whose primary user directory is this Entra ID). Existing users that linked their accounts with Entra ID are allowed to change their password and ignore this option (because in this case, user's primary user directory is not Entra ID). Note that if you allow users to change their Trivore ID password, they can login even after they have been disabled or removed from Entra ID. You can manage user's primary directory (and other directory links) using Accounts view > Actions menu > Manage directory links.
Select appropriate value for "Username import policy". Recommendation is to use either:
- "Automatic namespace username policy": Your namespace settings define how usernames are generated. Do not select this option unless your namespace policy supports automatic username generation.
- "Manual attribute selection": Use this option if you want your users to have same username in Trivore ID as they have in Entra ID. Default attribute mapping for "Username" field is usually fine.
Group memberships
If you need to import Entra ID users' group memberships, select "Enable groups".
You can also choose to import security enabled groups only and select whether to import only direct group memberships or transitive group memberships.
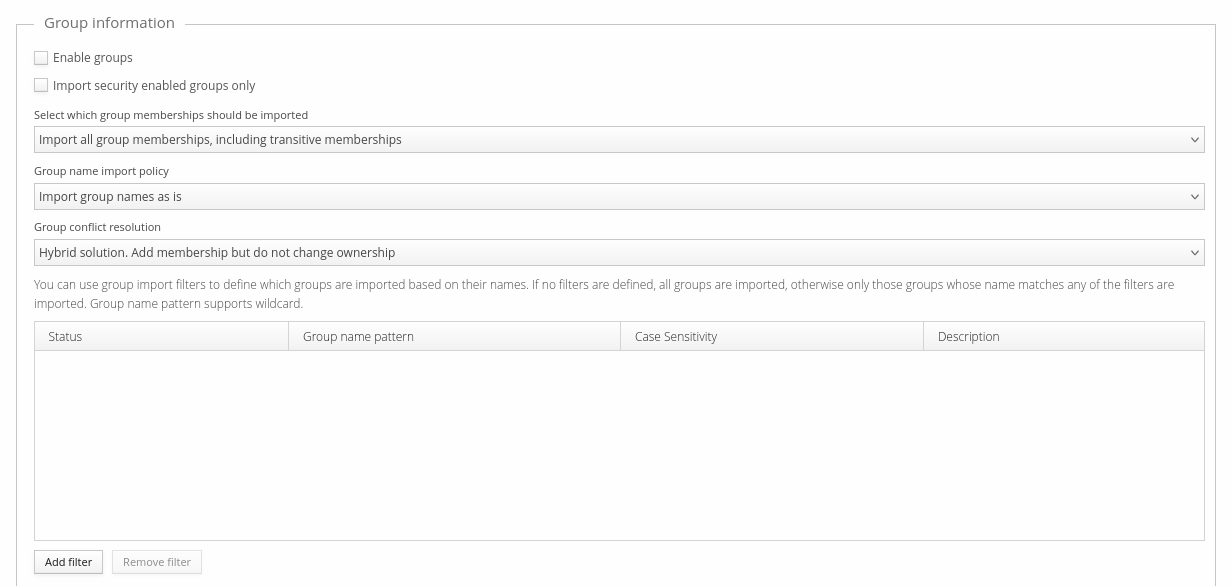
You can choose to import group names as-is or you can configure imported group names to use certain prefix or suffix to differentiate them from Trivore ID local groups.
Group conflict resolution defines how conflict with Entra ID groups and Trivore ID groups is handled:
- "Add memberships and make this directory owner of the group (override)": Entra ID user directory is marked as owner of the group and membership for the user is added. If Entra ID user is later removed from this group, membership is also removed in Trivore ID.
- "Ignore any conflicting groups (do not add membership)": Conflicting groups are ignored and membership in Trivore ID is not added.
- "Hybrid solution. Add membership but do not change ownership": Membership for user is added but group ownership is not changed. Note that if you select this option, membership in Trivore ID is not removed when membership is removed in Entra ID.
If you have a large number of groups in Entra ID and don't need all of them in Trivore ID, you can configure group name filters. Filters define which groups are imported: if an Entra ID group's name doesn't match any of the filters (logical OR), it's simply ignored and not imported into Trivore ID. Filters support the * wildcard.
Dynamic linking
If you have existing users in the Trivore ID namespace and want to enable Entra ID authentication for all of them, dynamic linking can do that — it links Entra ID accounts with Trivore ID accounts by comparing, for example, email address or username.
If you don't configure dynamic linking, existing users need to manually link their accounts with Entra ID using the "Link my account with another account" button on the Trivore ID Dashboard. Otherwise, Entra ID sign-in creates a new user account (if allowed by settings).
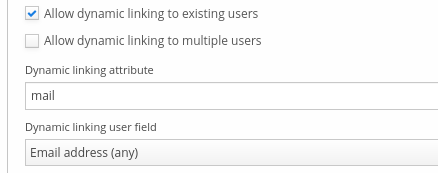
Select "Allow dynamic linking to existing users" to enable dynamic linking.
In rare cases, dynamic linking may find several Trivore ID accounts that match Entra ID credentials. If you want to enable dynamic linking in this scenario, you also need to select "Allow dynamic linking to multiple users". When selected, users are able to select which account they want to use when signing in to Trivore ID.
"Dynamic linking attribute" defines which Entra ID account attribute is used for dynamic linking. Value of this attribute is compared to Trivore ID account. Usually, this attribute is "mail" (email address) or "userPrincipalName" (username).
"Dynamic linking user field" defines which Trivore ID account field used for comparison with Entra ID account attribute (dynamic linking attribute). Common use-case is to use either email address (any or verified email only) or username.
Please note that dynamic linking has security implications. If your Entra ID users can change their own email address and email is used for dynamic linking, Entra ID users can login to any Trivore ID account by simply choosing another email address. When enabling dynamic linking, only use trusted attribute values that your users can not change freely. Manual linking is always more secure option because it ensures that user owns the Entra ID credentials they are using.