Accounts
Accounts on the Main Menu is where user accounts are managed: changing settings on existing accounts, creating new ones, and removing old ones. This Main Menu item is only available to accounts with the Account Admin or Account Auditor role.
User accounts in the list use a couple of symbols:
- A green check mark next to a phone number or email address means it has been formally verified.
- A lock icon next to the sign-in name means the account is locked (in the LDAP Server, in Trivore ID, or both).
Filtering accounts
Filtering opens a dialogue for narrowing down which accounts are listed — beyond simple column filters, it can match on tags, activity dates, user directory, account type, locking and archived status, group and role membership, and consent status. Only accounts matching the criteria are shown; Clear filters resets them.
Two common use cases are selecting a set of accounts to then Export, and finding locked or otherwise flagged accounts that need attention — including archived accounts, which are hidden by default and need the Archived filter to appear (see Recover account below).
Info menu
The Info dropdown shows additional information about a single selected account, each option opening its own dialogue. Depending on what's enabled for your deployment, this can include: show effective permissions, namespace access, security settings, changes to the account (audit log), account actions history, group memberships, push notification tokens, access tokens, custom fields, user agreements, personal identity code history, user files, and wallets. Some items are specific to optional modules or integrations (for example, a "Student status" or "Travel accounts" entry tied to a particular deployment) and won't appear otherwise.
Actions menu
Actions lists bulk operations for the selected account(s).
Sending messages to users
- Select — Select all, Unselect all, or Inverse selection, applied to the account list.
- Verify email address / Verify mobile number — sends a verification link by email, or by SMS (skipped for accounts without a mobile number).
- Communication — compose a message to the selected accounts: Send email, Send text message (SMS) (requires the SMS Admin role), or Send via all channels (also requires SMS Admin if SMS is selected).
Managing passwords and MFA
- Change account password — set a password manually or generate one; optionally email it to the user. Requiring a password change at next sign-in is recommended, so only the user ends up knowing the final password.
- Request user to change password — emails the user a link to change their password at their convenience.
- Enforce user account to change password — forces a password-change view at the user's next sign-in; no email is sent.
- Two-factor authentication — enable or disable MFA for the selected account(s). See Administrator actions for the current limitations of this bulk action.
User consent
Opens a dialogue to view and manage the selected user's consent on topics such as locationing, profiling, and marketing.
Locking/unlocking account(s)
Lock selected account disables sign-in for the selected account(s) and shows the lock icon next to their sign-in name; Unlock selected account reverses this. Locking asks for a mandatory Event Log message explaining why, and optionally lets you revoke all of the account's access tokens at the same time.
Recover account
Restores selected accounts that are archived. Archived accounts aren't shown in the list by default — use Filtering with Archived set to include them before you can select one to recover.
Import/export accounts
- Import user accounts from file — import accounts from a CSV file. You'll need to choose the sign-in account naming policy to apply and the file's encoding; a sample file is available to show the expected format.
- Export — export either the selected accounts or all accounts matching the current filter, choosing the file format and other options before download.
- Import data for future users — pre-load data for accounts that don't exist yet; when a matching account is later created, the imported data is applied to it automatically. See Prepared User Accounts.
Add to groups
Opens a dialogue to add the selected account(s) to one or more Groups in the namespace.
Namespace-related actions
- Managed namespaces — add other namespaces the selected account may access.
- Migrate user to another namespace — move the account to a different namespace.
- Manage directory links — manage the account's links to external user directories.
External permissions
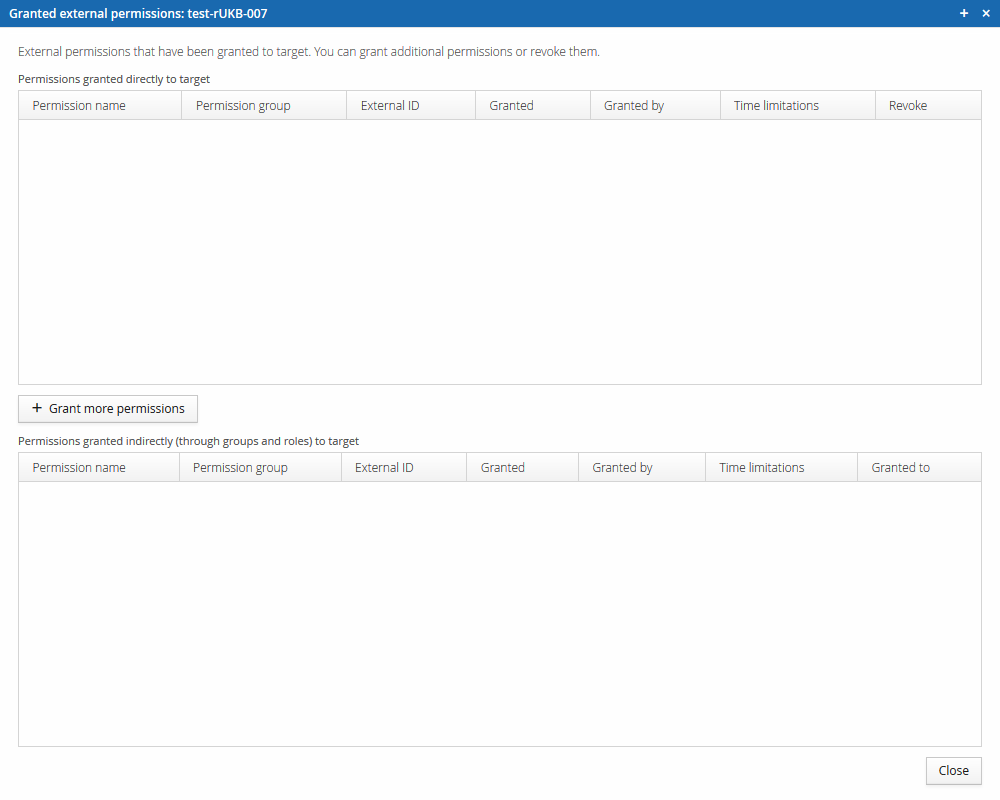
Grants the selected account(s) external permissions directly, alongside whatever they already have through groups and roles.
Subscriptions
Shows the subscriptions on the selected account.
External app access
Shows the external applications that have access to the selected account.
Identify the person
Starts the strong identification process for the selected account, which requires official documents from the person being identified — the accepted document types depend on the namespace's User identification settings and the person's country.
Retrieve base info from DVV
Retrieves the account's base information from the Finnish Population Information System (VTJ), via the DVV Muutostietopalvelu optional module.
Reset table to default settings
Resets all filtering and column/selection customisations on the account list.