Creating SSO targets
SSO targets are managed in the Management UI. Managing them requires the Single sign-on admin permission (or auditor variant, for read-only access).
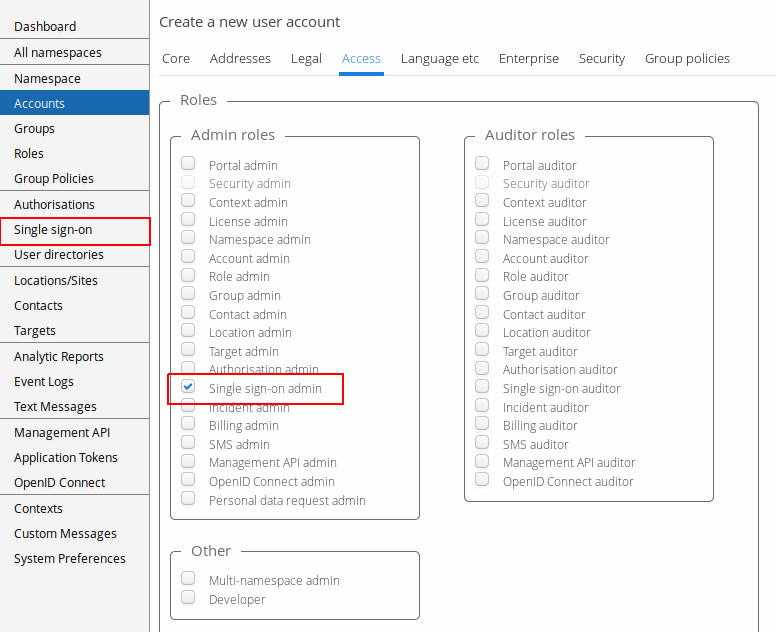
If you have the required permission, you see the Single Sign-On item on the Main Menu. Clicking it takes you to the view where SSO targets are created, edited, and deleted.
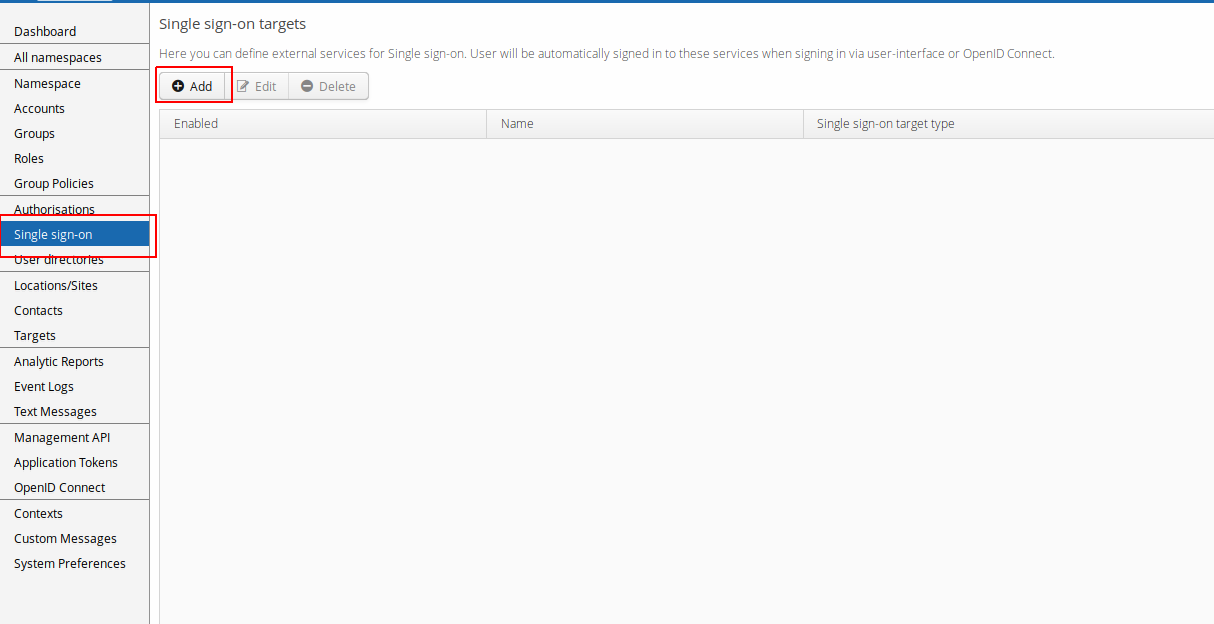
Click Add and choose the mechanism for the new SSO target — Management API or OpenID Connect (see Mechanisms) — then click Select to open the target editor.

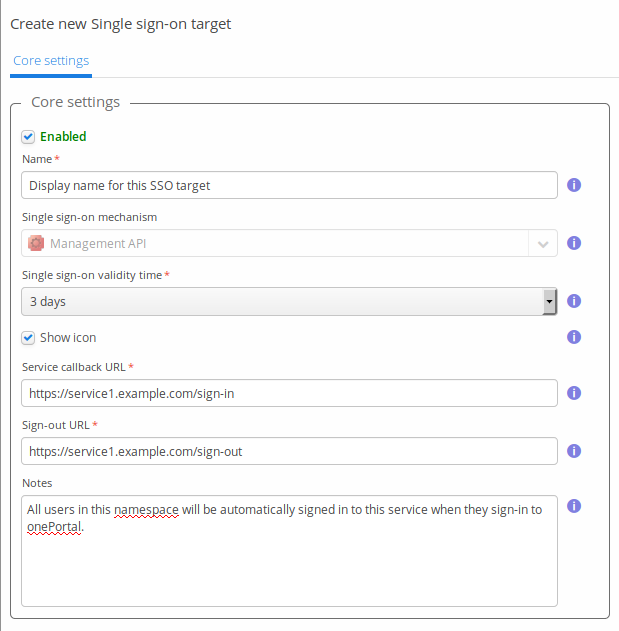
Fill in the target's core settings and click Save:
- Name — a display name for this SSO target.
- Single sign-on validity time — how long a generated
sso-tokenstays valid. - Show icon — whether the small icon shown during sign-in/sign-out (see How it works) is displayed to the user.
- Service callback URL and Sign-out URL — the SSO target's callback endpoints, called
with the
sso-token/sso-validityparameters on sign-in and sign-out respectively. - Notes — free-text notes for administrators; not shown to users.
After creating the SSO target, sign out and sign back in to Trivore ID. A small label is shown in the lower right corner of the screen informing you that you are being signed in to external services, with an icon per enabled SSO target if you enabled its Show icon option.
During sign-in, the browser makes an HTTP GET request to the Service callback URL defined
in the SSO target editor (when using the OpenID Connect mechanism, the callback URL is instead
defined on the OpenID Connect client itself — see the walkthrough
for OpenID Connect SSO). You should see this request in the access log of the external
service, carrying the sso-token and sso-validity parameters described in
How it works.