Creating SSO targets
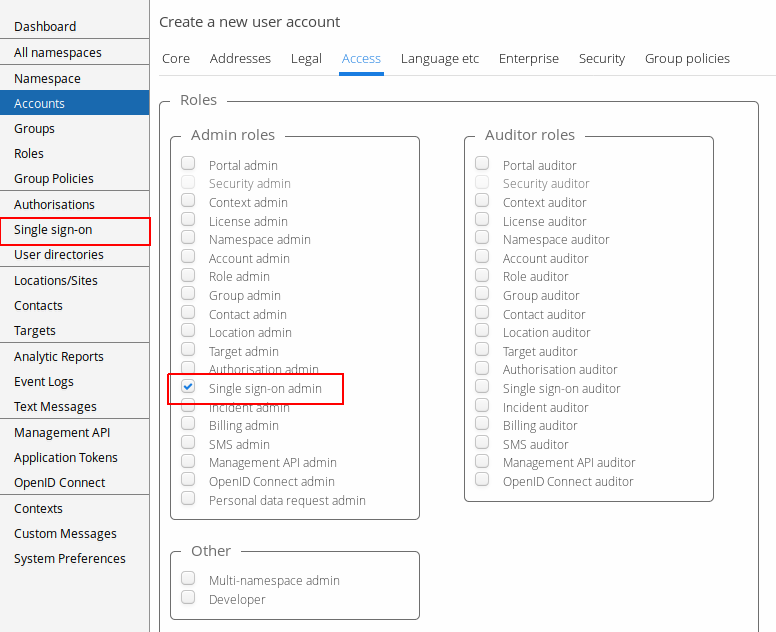
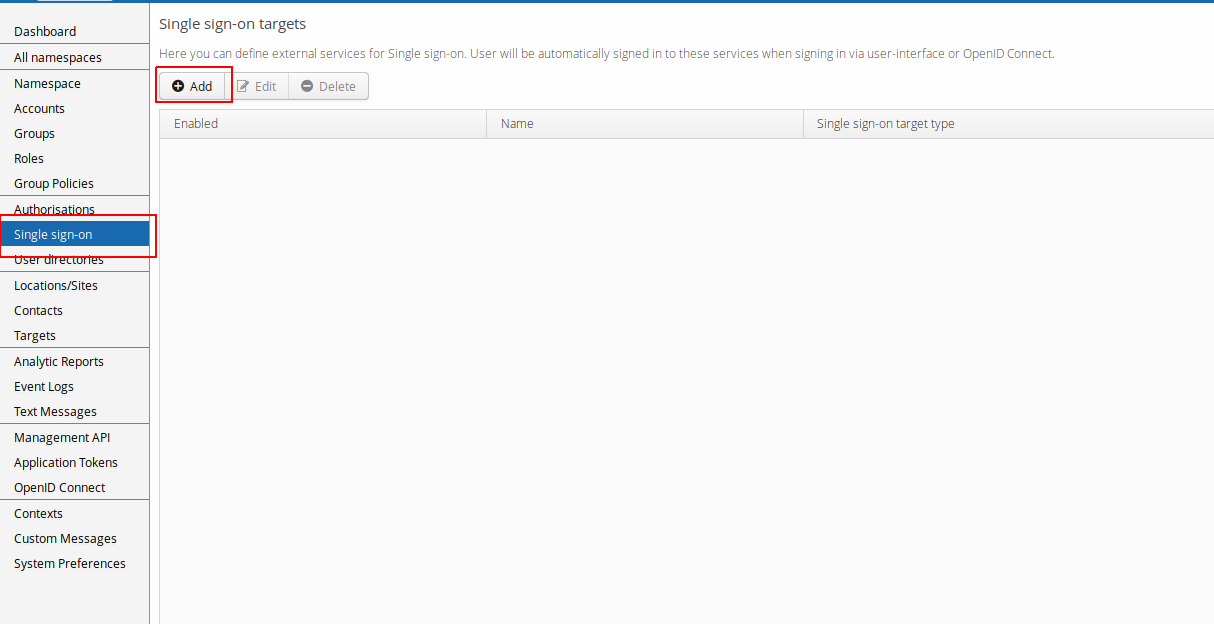
SSO targets can be managed in the Web UI. Managing SSO targets requires "Single sign-on admin" permission. If you have the required permission, you can see the "Single sign-on" item on main menu. By clicking that menu item, you can navigate to the view where SSO targets can be created, modified and deleted.

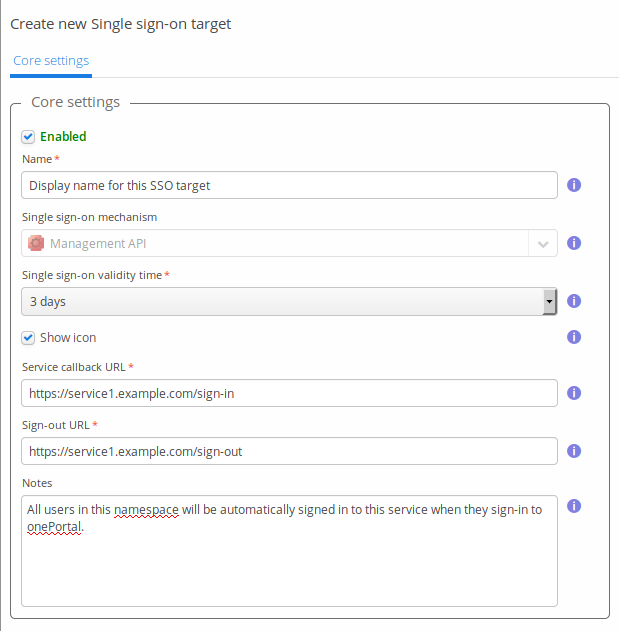
Navigate to the "Single sign-on" view and press "Add". New dialog will open where you can choose the the mechanism for the SSO target. Press "Select" and SSO target editor opens. Fill in all the required fields and press "Save".


After creating the SSO target you can sign out and sign in to Trivore Identity Service. Small label will then be shown in the lower right corner of the screen which informs that you are being signed in to external services. You should also see small icon for every SSO target next to this label if you enabled the "Show icon" checkbox in SSO target editor.
During the sign in procedure, the browser performs an HTTP GET request
to the "Service callback URL" defined in the SSO target editor (when
using Management API mechanism, if you are using OpenID Connect, "SSO
callback URL" can be defined in the OpenID Connect application editor).
You should be able to see this request in the access log of the external
service. Request contains the aforementioned sso-token and
sso-validity parameters.