User registration
New user registration is a part of the OpenID Connect authentication process. As the user arrives in the login UI, they may be given the option to register a new account. Depending on the configuration, the registration is done with an integrated form, or by linking to an external location where the registration flow may be more customised.
Registration enabling configuration
Registration is enabled in the OpenID Connect client editor.
The integrated registration form can be enabled by selecting a Namespace where users are limited to, and allowing new user registration. The selected Namespace must also have new user registration as enabled.
The external registration form can be enabled by entering a “New user registration custom URL” and allowing new user registration.
Integrated registration form
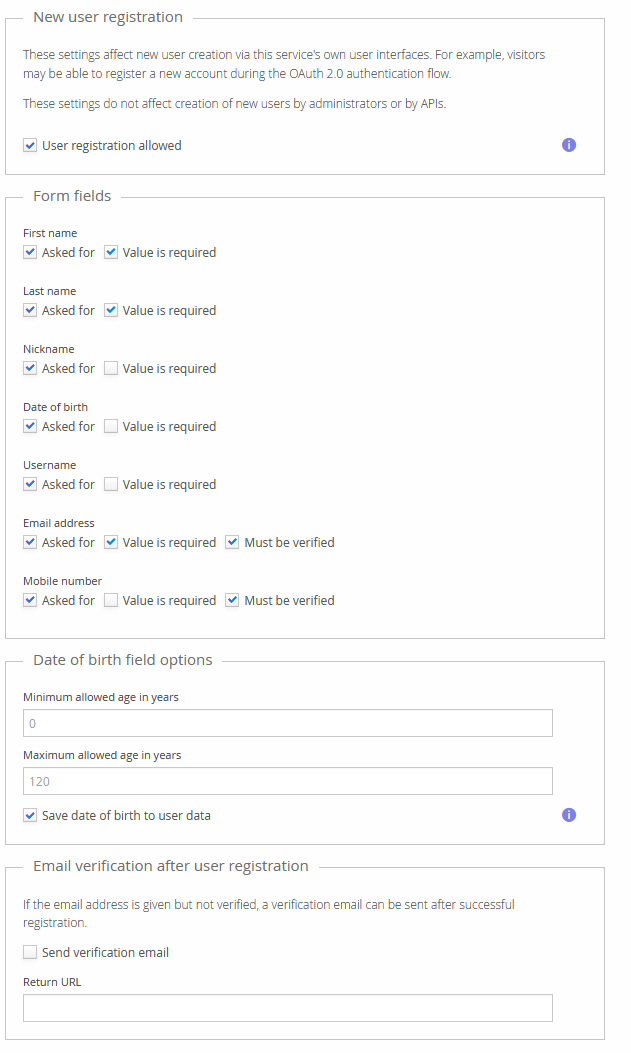
The integrated registration form has fields which are selected in the Namespace configuration. Field visibility, whether they are required, and whether some of them are verified can be configured there.
Configuration is done in the Namespace editor > User registration tab.

Some customer-specific modules may add custom components to the registration form. Their configuration is not documented here.
The registration flow has multiple steps:
-
Enter basic information (names, email address, password, …)
-
Verify entered information immediately if so configured (email address, mobile number)
-
Review details of the new user account
-
Perform login with new account (which may have more interactive steps depending on configuration)
External registration form
The user is sent to the configured URL if the Registration option is selected in the authentication UI. The following query parameters are added to the URL:
| Added query parameter | Value |
|---|---|
clientRedirectUri | The redirectUrl from original authentication request. The form may want to redirect the user here later. |
clientName | The name of the OIDC client making the authentication request. |
locale | Current UI locale in java.util.Locale.toString() format (example: “en”, “en_GB”). |
Linking to registration
Normally you should just link to the authentication URL with the normal OIDC parameters and expect that the user will click the “create a new account” feature if they don’t have an account yet.
You can link directly to the registration form (integrated or external)
by adding the query parameter nur to the normal authentication URL.
Opening the URL will display the registration view if it is available.
Note that all the usual authentication URL parameters are required, as the registration flow will end by performing the normal authentication.